
We’ve all been there. You’re halfway through a perfect beach wave, your phone pings, or you reach for a sectioning clip, and—ouch.
That familiar, searing sting. Before you even look in the mirror, you know the vibe: a bright red, curling-iron-shaped "tattoo" right on your cheek or jawline.
At Byrdie, we know that hair tool burns are practically a rite of passage, but that doesn't make them any less stressful. Dermatologists tell us that facial and neck burns from hot tools are among the most frequent home injuries they see. And while they usually start as a minor annoyance, improper aftercare can lead to the ultimate beauty nightmare: long-term post-inflammatory hyperpigmentation (PIH) or scarring.
To save your skin barrier, we’ve put together the definitive guide on what to do when your wand fights back.
Why Hot Tools Are So Savage to Your Skin
Most professional curling irons live in the 250°F to 450°F range. For context, water boils at 212°F. When that high-heat barrel hits the delicate skin of your face or neck, the damage happens in a literal heartbeat.
The severity depends on the "Triple Threat": temperature, duration of contact, and skin thickness. (This is why neck burns often hurt more—the skin there is much thinner than on your arms).
Know Your Burn Level
-
First-Degree: Redness, heat, and a bit of swelling. It’s a surface-level drama that usually heals in a few days.
-
Second-Degree: We’ve entered blister territory. This means the damage hit the dermis. It requires extra love to avoid infection.
-
Third-Degree: If the skin looks white, charred, or feels weirdly numb, stop reading and go to the ER. This is deep tissue damage that needs professional intervention.
The First 20 Minutes: The Emergency Protocol
When the burn happens, speed is your best friend. Here is your step-by-step recovery plan.
1. Cool It Down (But Put the Ice Away)
Immediately step away from the heat. Grab a clean cloth soaked in cool (not freezing) water and apply it to the area for 10 to 20 minutes.
Pro Tip: Never apply ice cubes directly to a burn. Extreme cold can actually restrict blood flow and cause secondary tissue damage (aka "ice burn"), making the situation worse.
2. Gentle Cleansing Only
Once the skin has cooled, use a fragrance-free, soap-free cleanser to gently pat the area. This is the time to bench your "active" skincare. No Retinol, no Vitamin C, and definitely no AHAs/BHAs until you’re fully healed.
3. Embrace "Moist Healing"
There’s an old-school myth that you should let a burn "air out." Modern dermatology says otherwise: "A dry cell is a dead cell." Keep the wound moist to help the skin regenerate faster. Apply a thin layer of Petroleum Jelly (Vaseline) or a healing ointment like Aquaphor. This creates an artificial barrier that mimics your skin's natural protection.
4. Hands Off the Blisters
If a blister forms, do not—we repeat, do not—pop it. That fluid is actually a sterile, built-in bandage designed by your body to protect the raw skin underneath. If it pops on its own, clean it gently and keep it covered with a breathable bandage.
The Scar-Proofing Phase: Long-Term Care
Once the pain subsides, your main mission is preventing that red mark from turning into a permanent brown spot.
-
SPF Is Non-Negotiable: Freshly healed skin is incredibly vulnerable to UV rays. If you skip sunscreen, the sun will bake that pigment into your skin. Use SPF 30 or higher every single day.
-
Post-Heal Brightening: Once the skin is no longer raw or peeling, you can slowly introduce ingredients like Tranexamic Acid, Niacinamide, or Licorice Root to help fade any lingering shadows.
How to Prevent the "Sizzle" Next Time
If you’re a serial burner or just a bit clumsy in the morning (we get it—coffee first, curling later), consider these pro-safety moves:
-
The Heat Glove: They might look a little "theatrical," but they save fingers.
-
Section with Intention: Use clips to keep stray hairs away so you aren't rushing or fumbling near your ears.
-
Switch to an Auto-Curler: If you're truly over the burns, it might be time to ditch the exposed barrel. Modern automatic curlers (like the ones with a protective shield) keep the heat tucked away inside a cool-to-the-touch housing. You get the waves, without the war wounds. Check this
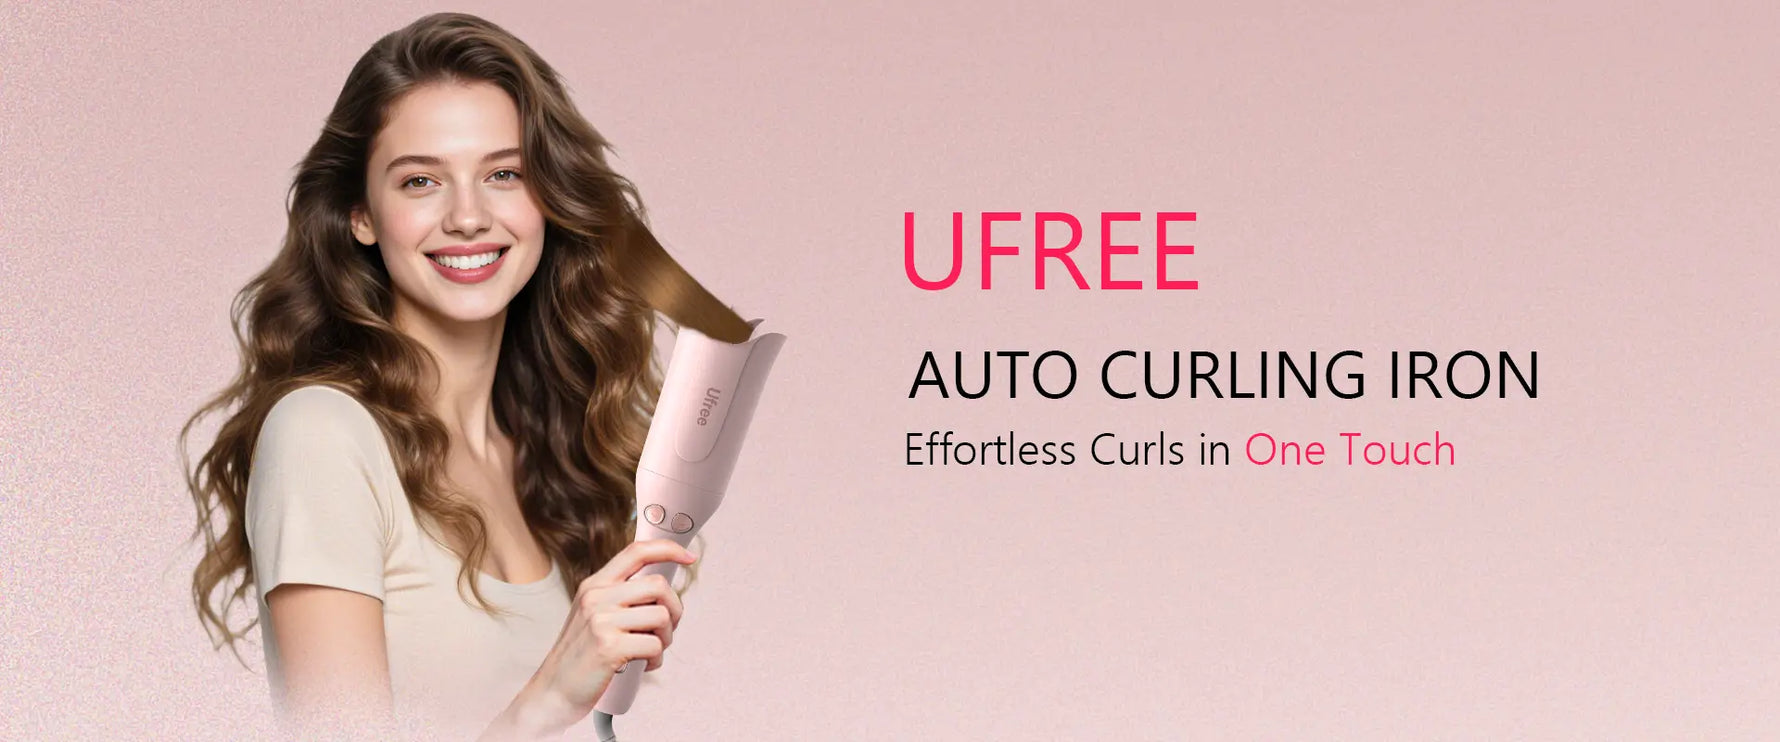
Ufree Automatic Curling Iron
Designed with a protective curling chamber to reduce direct contact with heated surfaces, this automatic curling iron makes styling safer, easier, and more consistent — especially around the face and neckline.
- ✔ Enclosed barrel design for reduced burn risk
- ✔ Smart temperature control
- ✔ Automatic curl direction settings
- ✔ Fast heat-up & salon-level results
A curling iron burn is a total mood dampener, but it doesn't have to leave a lasting mark. Just remember: Cool it, coat it, and cover it with SPF. Want more hair-saving tips? Check out our latest roundup of the [Best Deep Conditioners for Heat-Damaged Strands].
